Five Small Experiments to Train Your Eye for Natural Patterns
Patterns are the quiet grammar of the living world. Learning to see them — the way veins fan across a leaf, the repeating ridges of bark, or the silhouette of a branching habit — makes the landscape more legible and more interesting. These five small experiments are designed to be done in sequence. Each takes 5–30 minutes and builds a practical observing skill you can use on short walks or in a home garden.
Experiment 1 — The Two‑Minute Pattern Hunt
Goal: Sharpen initial attention; notice repeating forms in a short time.
What you need: a watch or phone timer and an open view — a yard, park edge, or roadside verge.
- Set a two‑minute timer. Walk slowly for those two minutes without taking notes. Let your eyes scan for anything that repeats: leaf shapes, a streak of color, a row of seed pods, a particular bark texture.
- When time is up, pause and pick one repeating element you noticed. Name it aloud (for example, “feathered leaves,” “zigzag twig,” “peeling bark”).
- Take a single photograph or make a one‑line note describing it.
Why it helps: Short, time‑boxed attention trains the mind to pick up salient features quickly. Repeat weekly and you’ll notice how easily the eye begins to flag patterns it previously ignored.
Experiment 2 — Leaf Venation Sketches
Goal: Learn to recognize venation types (parallel, pinnate, palmate) through quick drawing.
What you need: small sketchbook or paper and a pen.
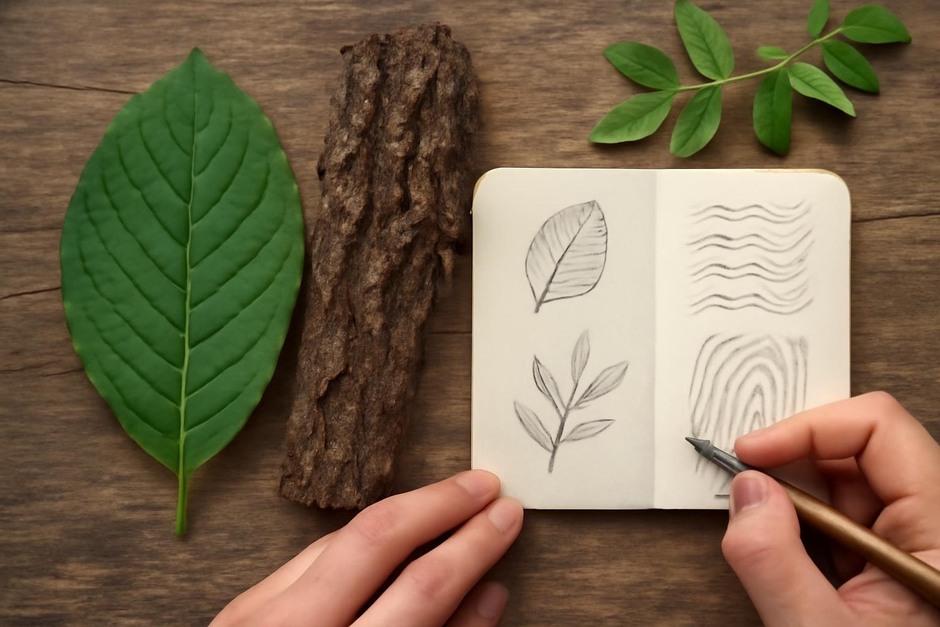
- Collect three different leaves from separate plants (or observe them where they grow). Spend five minutes on each leaf.
- Draw only the outline and the major veins — no shading. Label the vein pattern as you see it: “pinnate,” “palmate,” “parallel,” or “reticulate.”
- Write one observation beneath each sketch: where it was growing, size, and a memory cue (for example, “fan‑like palmate — like a maple glove”).
Why it helps: Drawing simplifies what the eye sees into essential lines. Venation is a stable trait useful for distinguishing many groups of plants, and the act of labeling anchors the pattern in memory.
Experiment 3 — Bark Rubbing Variations
Goal: Translate texture into touch and simple marks to increase sensitivity to surface patterns.
What you need: newsprint or thin paper, a soft pencil or crayon, and a tree trunk or large branch.
- Place paper flat against bark and hold it steady. Gently rub with the side of the pencil to capture a texture impression.
- Make two rubbings of the same trunk: one wide and shallow (slow, light strokes), one dense and high‑contrast (firmer pressure).
- Note the differences: are the ridges regular, flaky, or scaly? Add a short descriptor and a small drawing of the overall trunk pattern.
Why it helps: Converting texture to image and words helps you remember trees that might otherwise blend together. Different pressures reveal different scales of pattern — useful for field comparisons.
Experiment 4 — Silhouette and Branching Studies
Goal: See whole‑plant forms and learn to recognize branching habits from a distance.
What you need: binoculars or just your eyes, and a notebook.
- From 20–50 metres, pick three shrubs or small trees. Sketch only their outer silhouette and major branching directions (upright, arching, horizontal, opposite, alternate).
- Next to each silhouette jot a one‑line cue: “upright with tiered branches,” “spreading with many fine twigs.”
- Return later or on another day to see whether seasonal changes (leaf out, fruit, bare branches) alter your perception of the silhouette.
Why it helps: A plant’s overall form is often more diagnostic than single leaves. Silhouettes stick in memory and help you pick out species at a glance when walking quickly.
Experiment 5 — Pattern Mapping: A Five‑Step Mini Survey
Goal: Integrate earlier observations into a small, repeatable map of pattern distribution.
What you need: a sheet of paper, a pen, and 10–15 minutes.
- Choose a patch roughly the size of a garage or one side of a street block. Draw a simple rectangle to represent it.
- Walk the patch once, marking where you see three patterns you can now name (for example: “palmate leaves,” “peeling bark,” “tangled branching”). Put a small symbol for each where it occurs.
- Write one short sentence about the distribution: are the patterns clustered, random, or lining features such as a fence or path?
- Repeat the survey monthly and note any changes in distribution or abundance.
Why it helps: Mapping forces synthesis. You move from isolated observations to understanding how patterns recur across space and time.
Put them together: do the exercises in order over a week, then pick one to repeat each week as a short warm‑up on a walk. With small, regular practice you’ll find patterns beginning to present themselves without effort — and with them, a new way of reading places you thought you already knew.